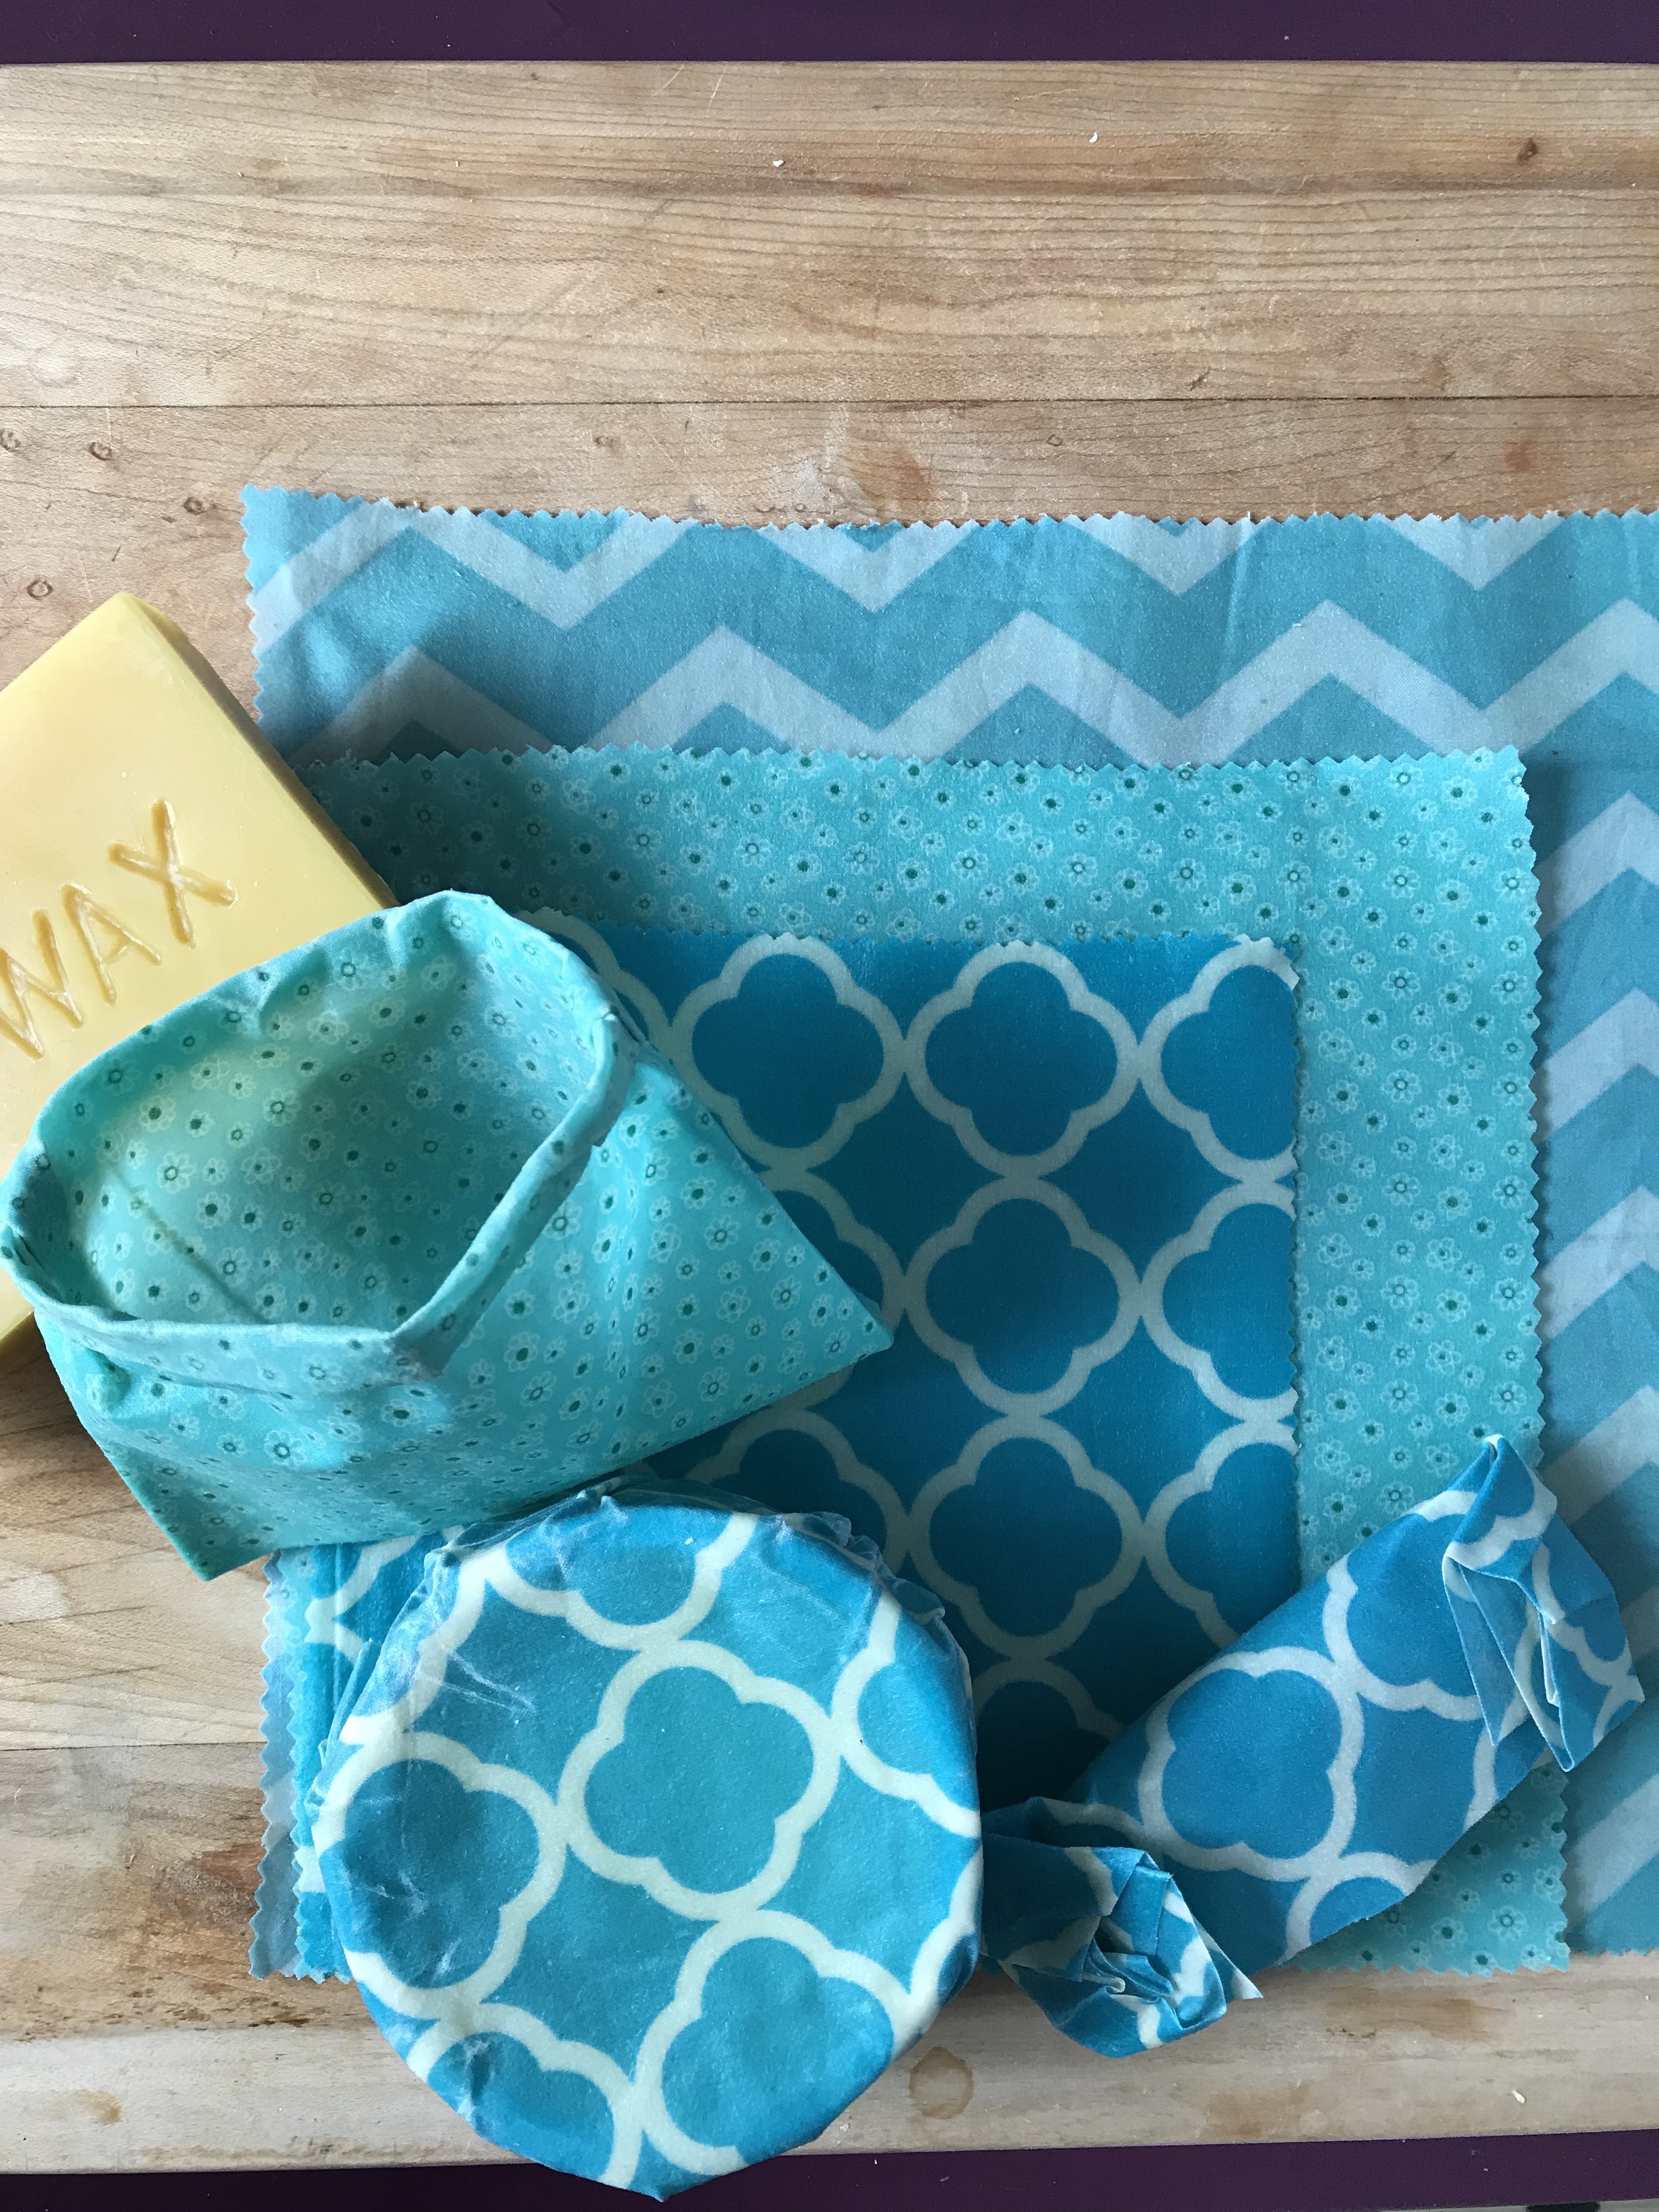
 Guess what? I haven’t used plastic wrap or ziplock bags in about a year now! This is in part due to making an effort to save and reuse glass containers, but it’s mostly because last year I started using beeswax wraps. They basically act like reusable plastic wrap. You just warm them up in your hands a little, and then they’ll stick to themselves so you can mold them into whatever shape you need, cover a bowl or wrap a block of cheese.
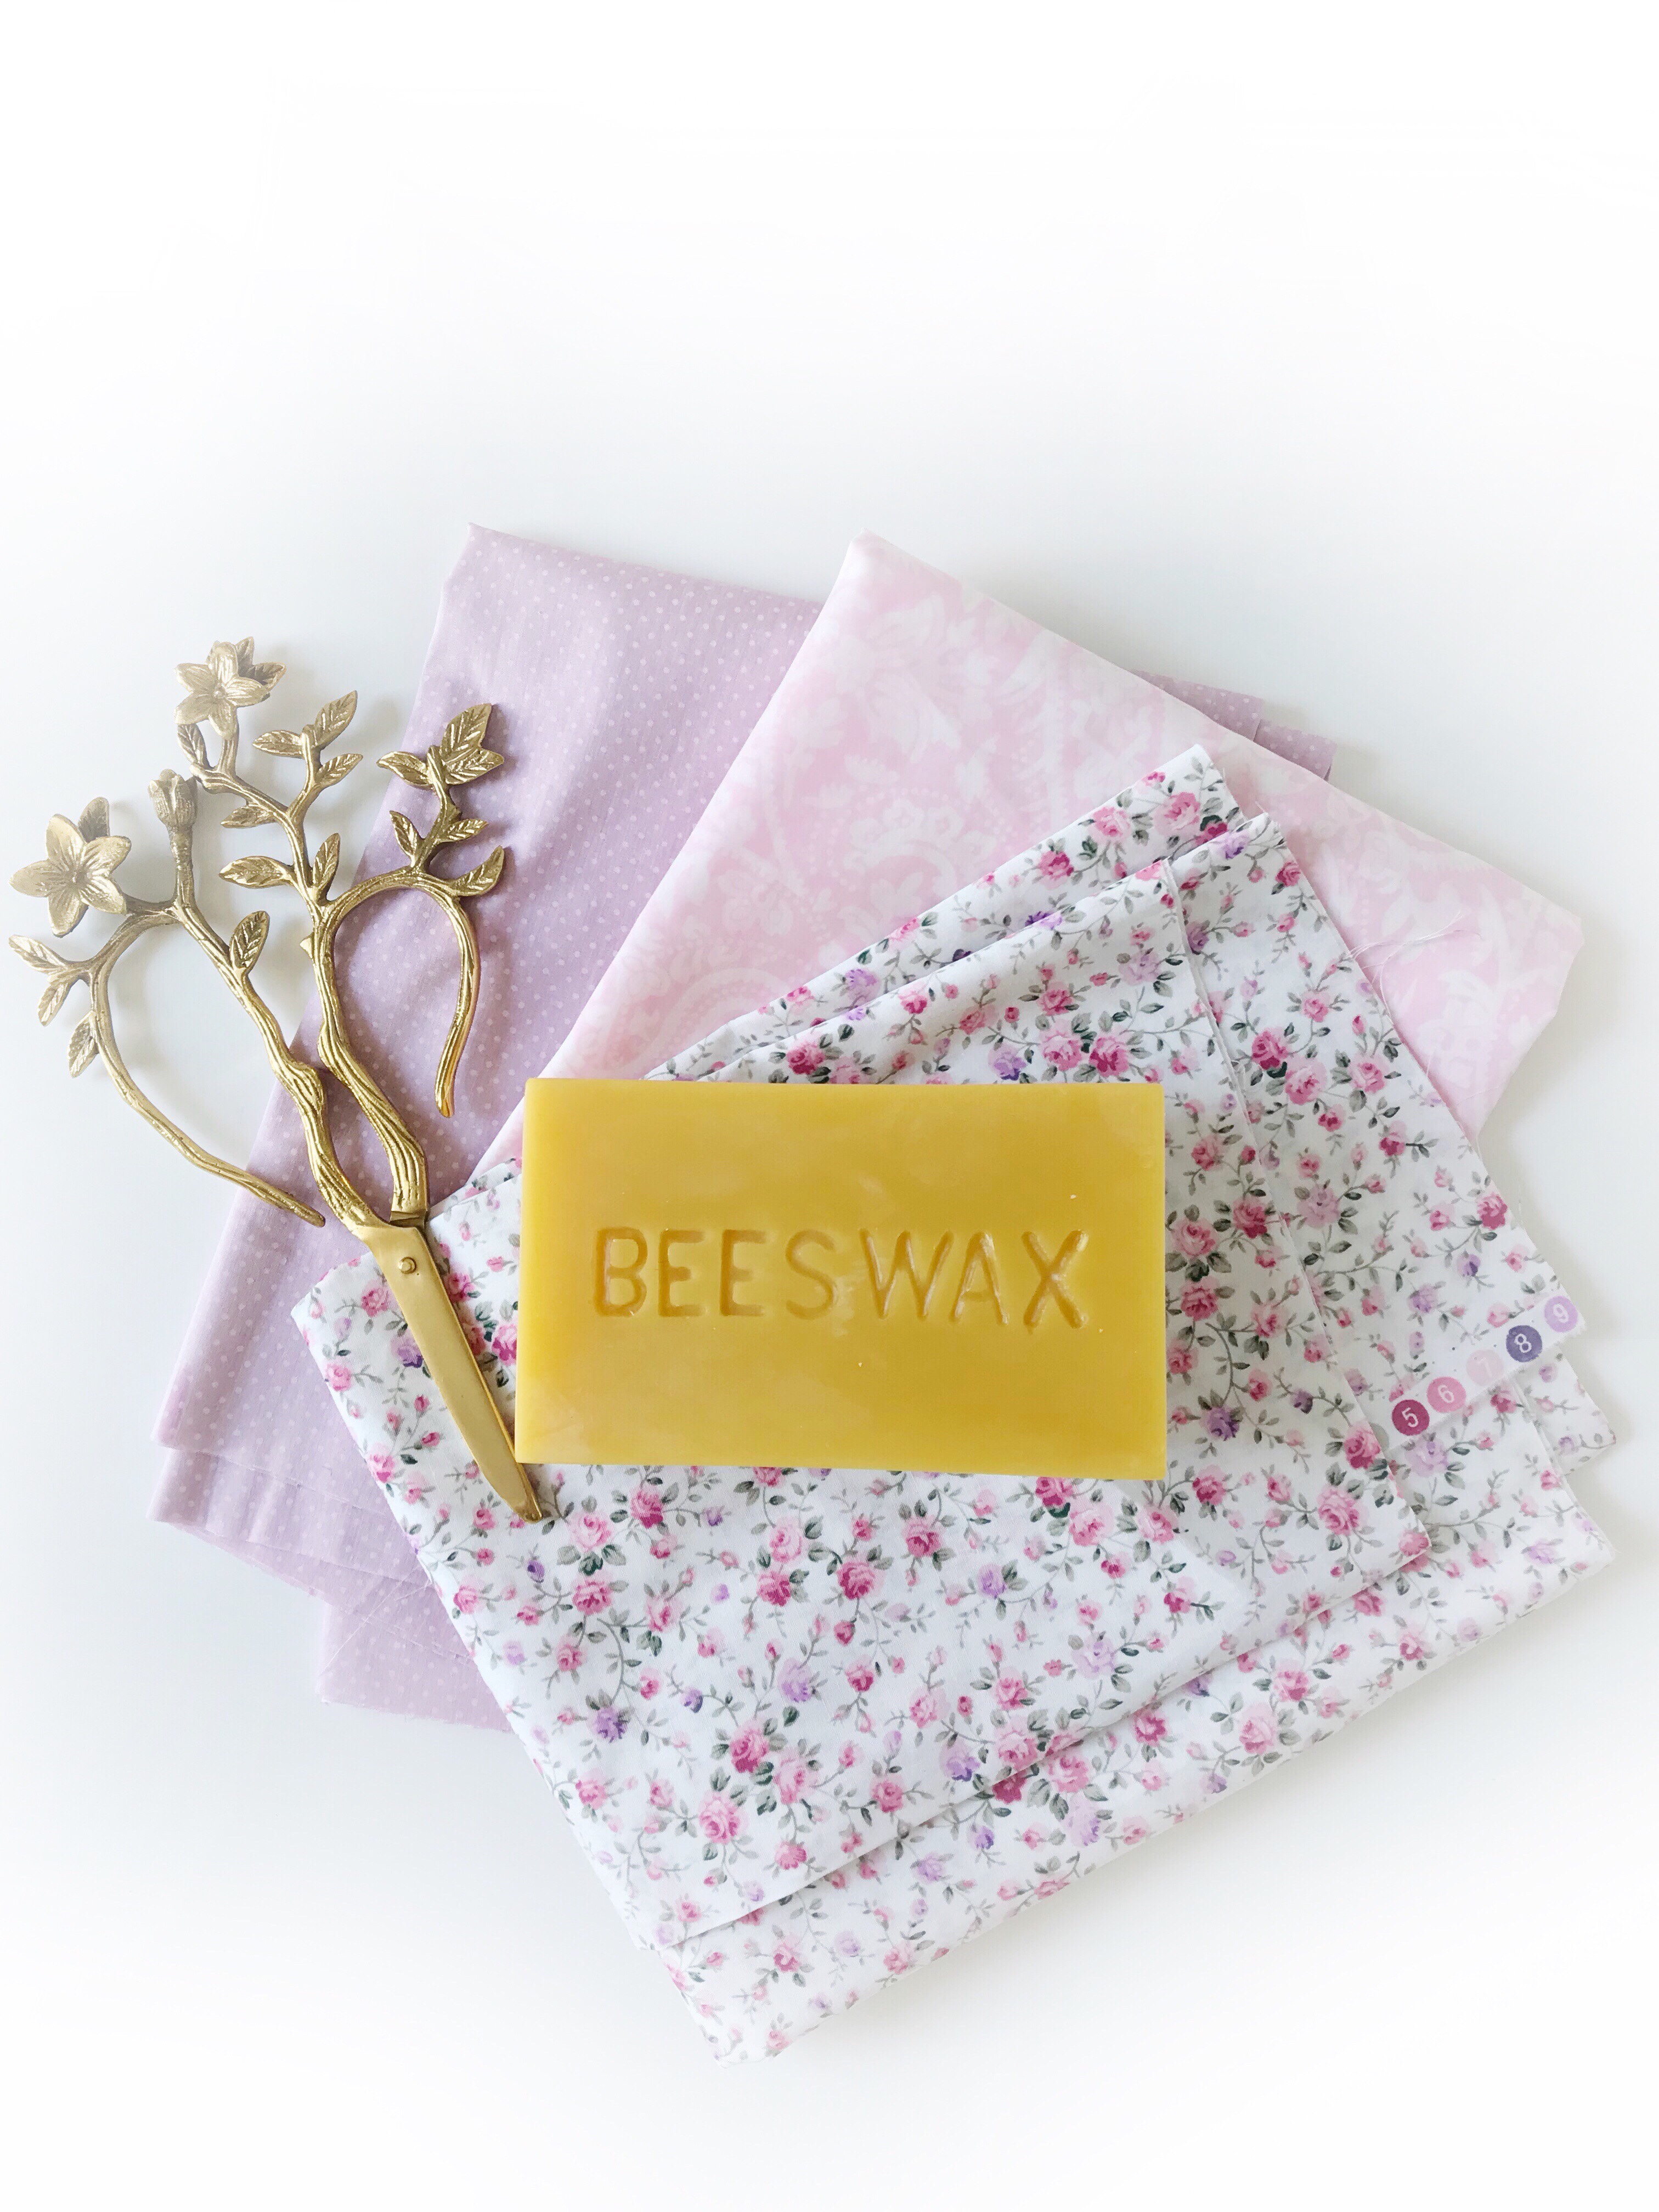
I got on the beeswax bandwagon by buying a set of wraps from a local shop. Once I was sure they were useful, the little voice in my head that says “I could totally just make these myself” popped up. Luckily, in this particular instance, that voice was correct! I did a little hunting for beeswax and experimented on a cute cotton sheet I never used (as far as I’m concerned flat sheets are good for nothing but making you dream your feet are being attacked by an octopus and tripping you up in the morning). Once I got the hang of it, I bought some pretty cotton and pinking shears and started making them for friends and family. They’re a perfect zero waste gift and they really are simple to make!
Want to make your own beeswax wraps? Here’s how I make mine, step by step:
You’ll need: Cotton fabric, scissors or pinking shears, beeswax, coconut oil, parchment paper or a silicone baking mat, a pastry brush (you may have to have a designated brush for this, as the wax is pretty difficult to remove) and a cookie sheet.
Instructions:
- Using your pinking shears or scissors (I recommend pinking shears to avoid fraying fabric, plus the zigzag edges are cute), cut your fabric into squares or rectangles that will fit on your cookie sheet. I like to cut mine in sets with one large rectangle the size of the cookie sheet, then two smaller squares.
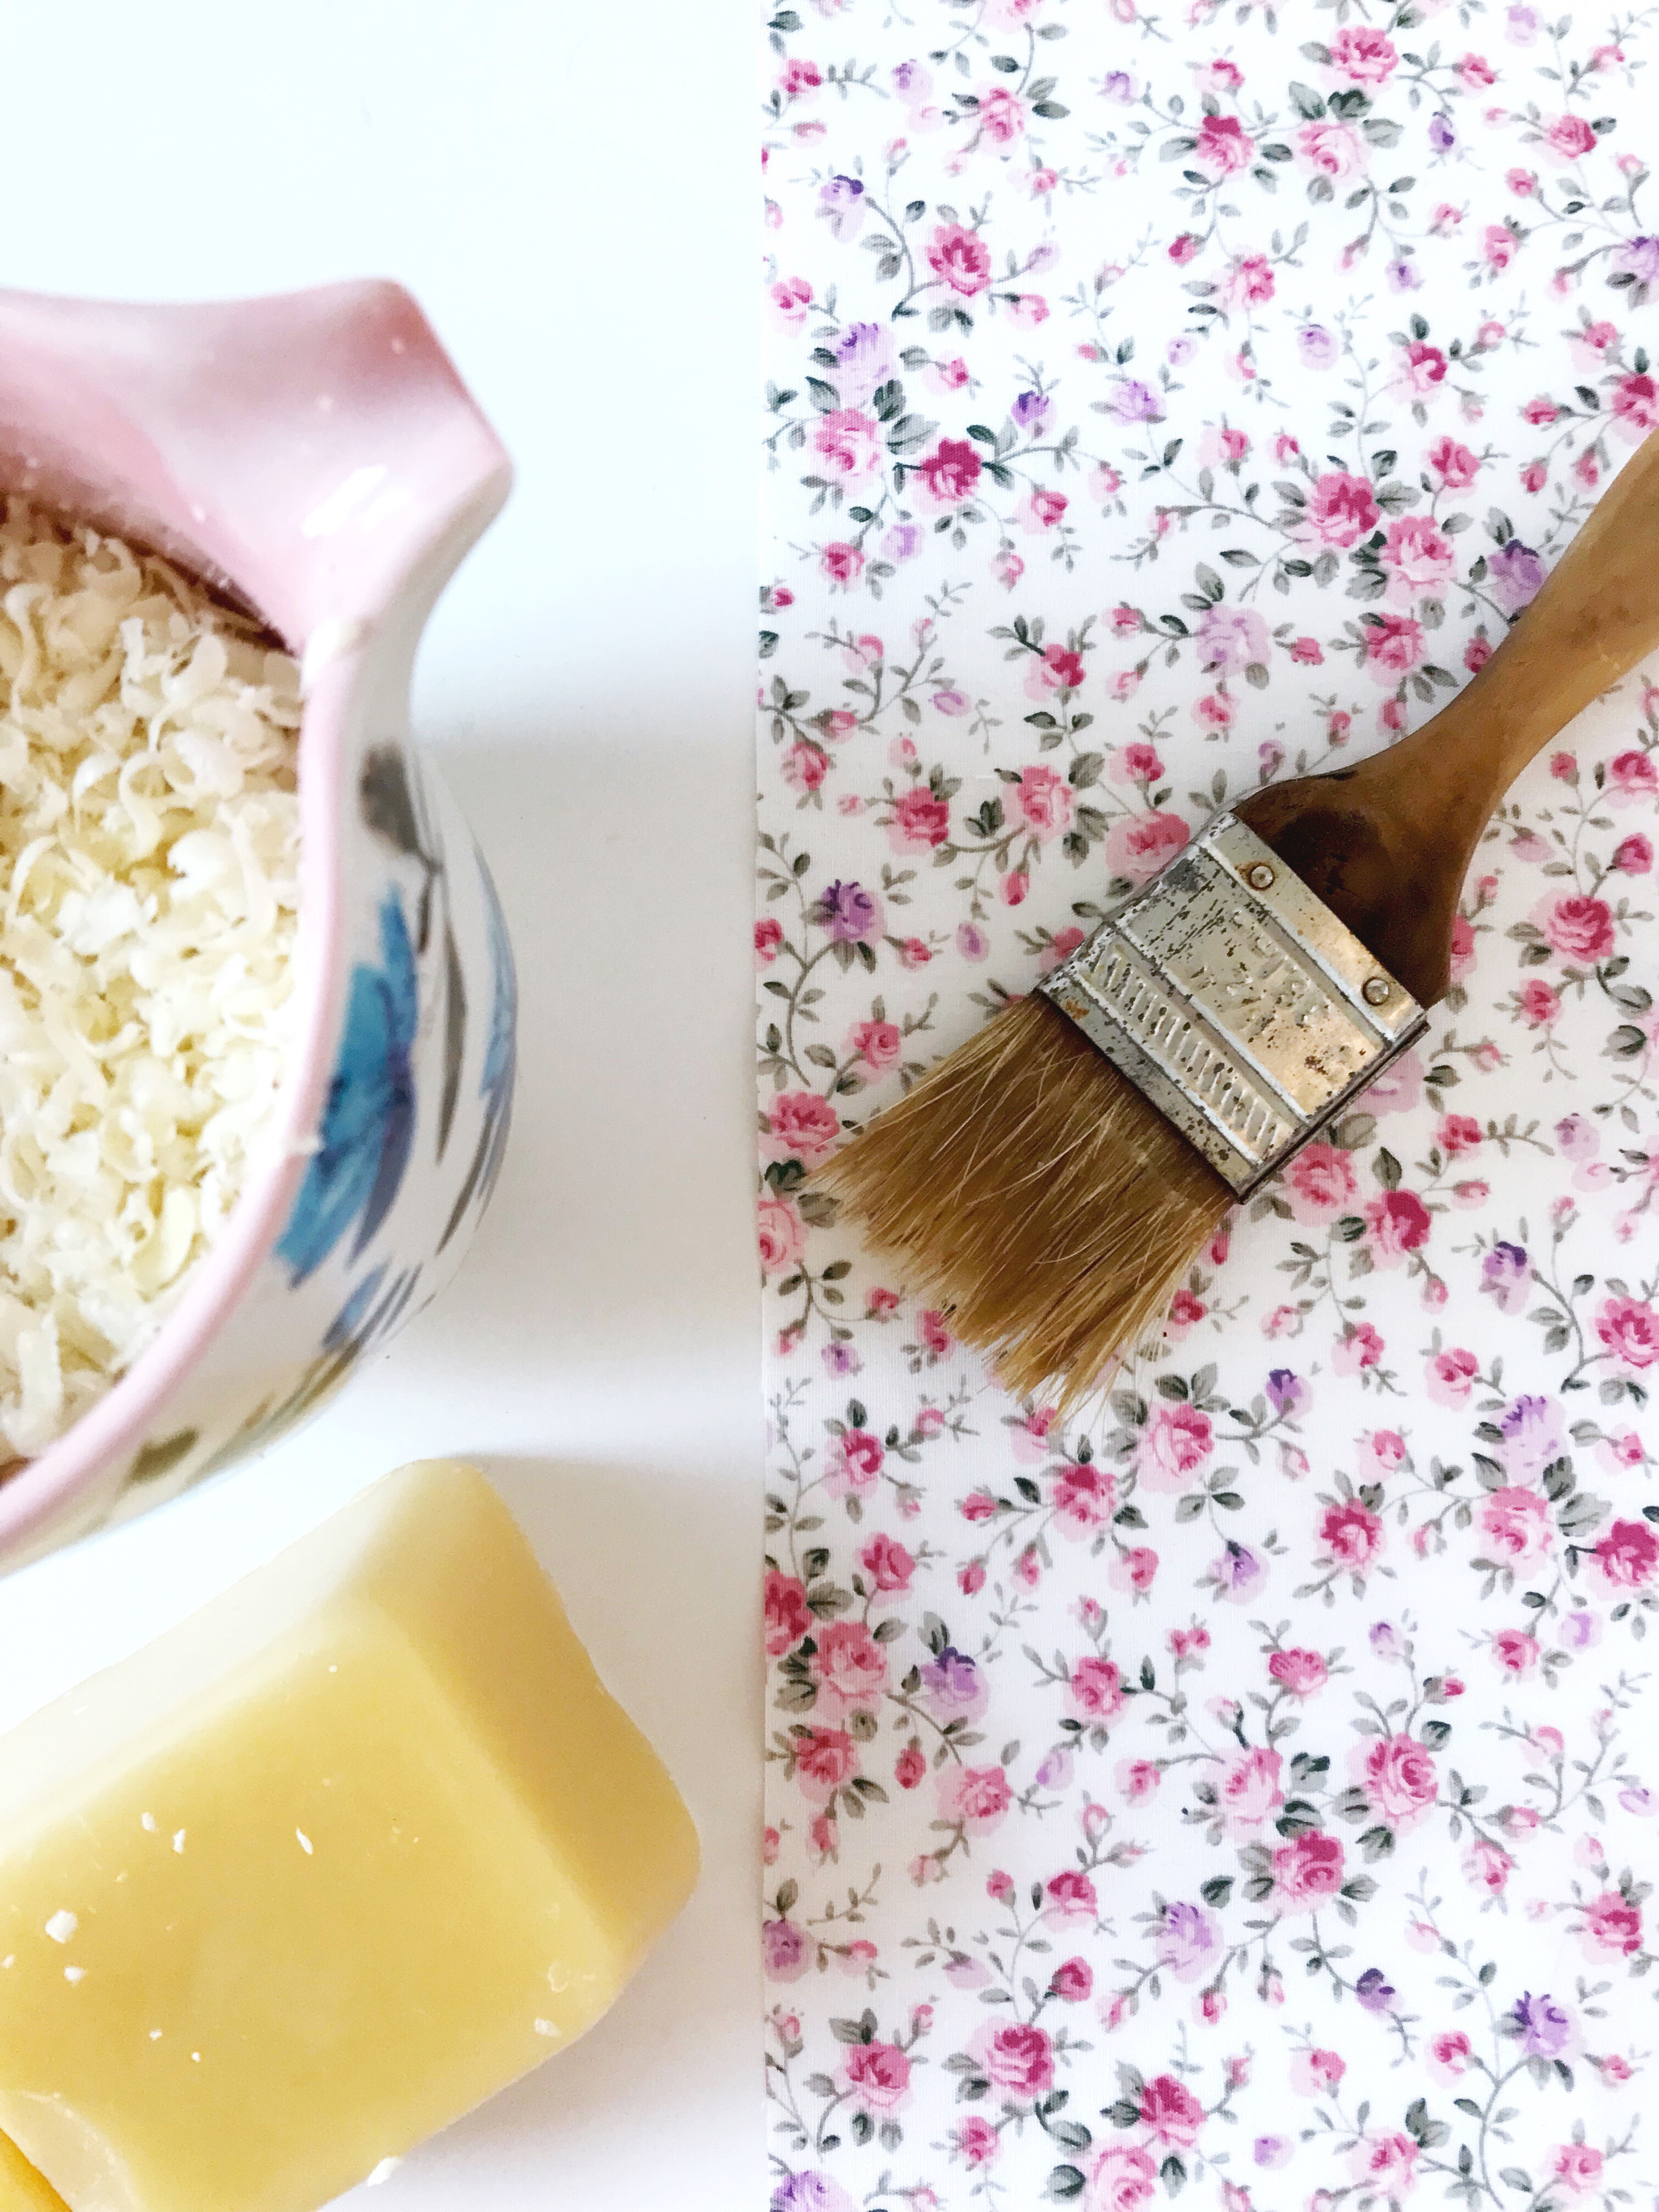
- If using solid beeswax, shred or finely chop the wax (skip this step if using pellets). I use about a half cup of shredded/chopped wax per cookie sheet-sized wrap.
- Line your cookie sheet with parchment or a silicone baking mat.
- Preheat your oven to 300 degrees celsius.
- Place your first piece of fabric flat on the lined cookie sheet, sprinkle beeswax (again, approximately half a cup shredded for one cookie sheet-sized wrap), and a half teaspoon of coconut oil evenly over the fabric.
- Pop the cookie sheet in the oven for 3 or 4 minutes or until the beeswax has melted.
- Remove the sheet from the oven and use the pastry brush to spread the melted wax and coconut oil more evenly over the entire surface of your wrap.

- Carefully remove the wrap from the cookie sheet, holding it gently by two corners, wave it back and forth a couple of times and hang it to dry completely (I usually just hang mine over a bannister or the back of a wooden chair) for 10 to 15 minutes.

- Try warming the wrap in your hands and pinching the fabric together to make sure you used enough wax/oil.
- Wrap everything!!!
Note: some people use pine resin to make the wraps clingier, but I’ve found mine work just fine without.
Have you tried making your own beeswax wraps? How did they turn out?
Hi!
You don’t use resin?
H! I don’t use resin, no. I’ve found with the coconut oil and beeswax that the wraps stick to themselves well enough.